
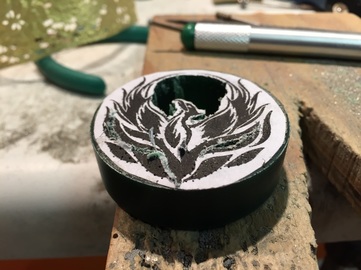
Recently I was asked to create a brooch as a retirement gift for a school administrator. The school's mascot was a phoenix. While I have taken several wax carving classes and carved wax before, I had never done anything quite so ornate or "precious" so to speak. I was a bit overwhelmed, but because the school's board of directors had given me lots of time in which to complete the project, I decided to go for it. I rationalized that if it did not turn out well, we still had plenty of time to find another brooch. So I started with a round piece of wax and pasted an image of a phoenix on the top....and I started to carve.
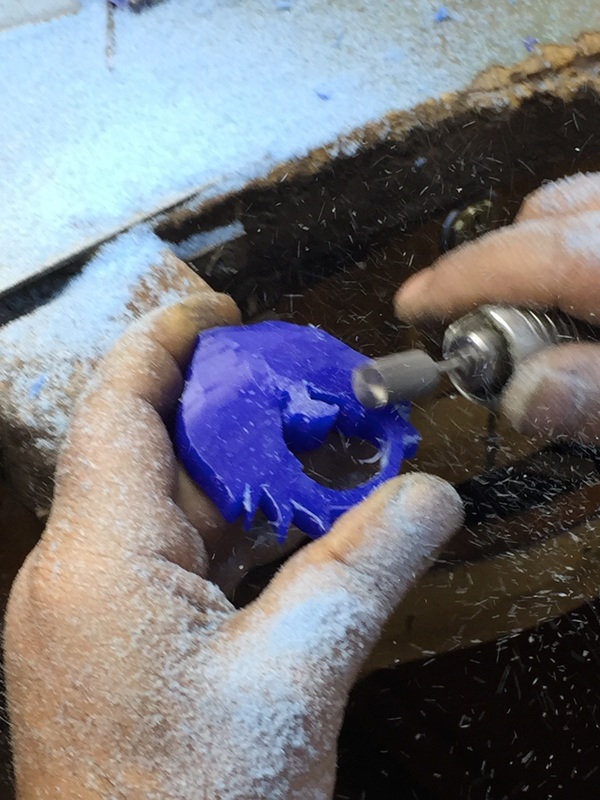
The hands above are not mine! That is my friend and mentor who talks me off the ledge on occasion and guides me when I cannot see the forest for the trees. I am forever grateful to Raffi for his immense knowledge and willingness to share it.
Wax was removed using a variety of different tools - both power and hand. As you can see the wax slowly takes shape. Once the paper image is removed, I marked the image with a sharpie to give guidelines of form and shape.
Wax was removed using a variety of different tools - both power and hand. As you can see the wax slowly takes shape. Once the paper image is removed, I marked the image with a sharpie to give guidelines of form and shape.


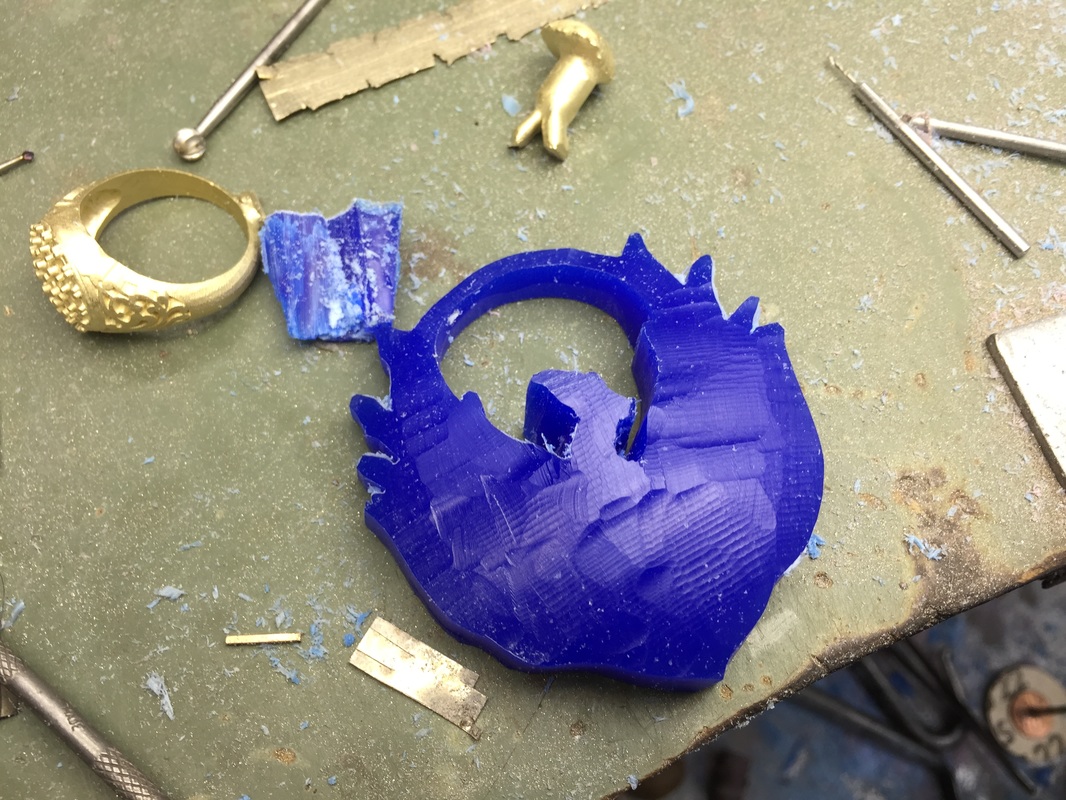
As more and more wax is removed, the process becomes looser and more intuitive. The form organically takes shape based on the chosen tool and the amount of pressure applied.
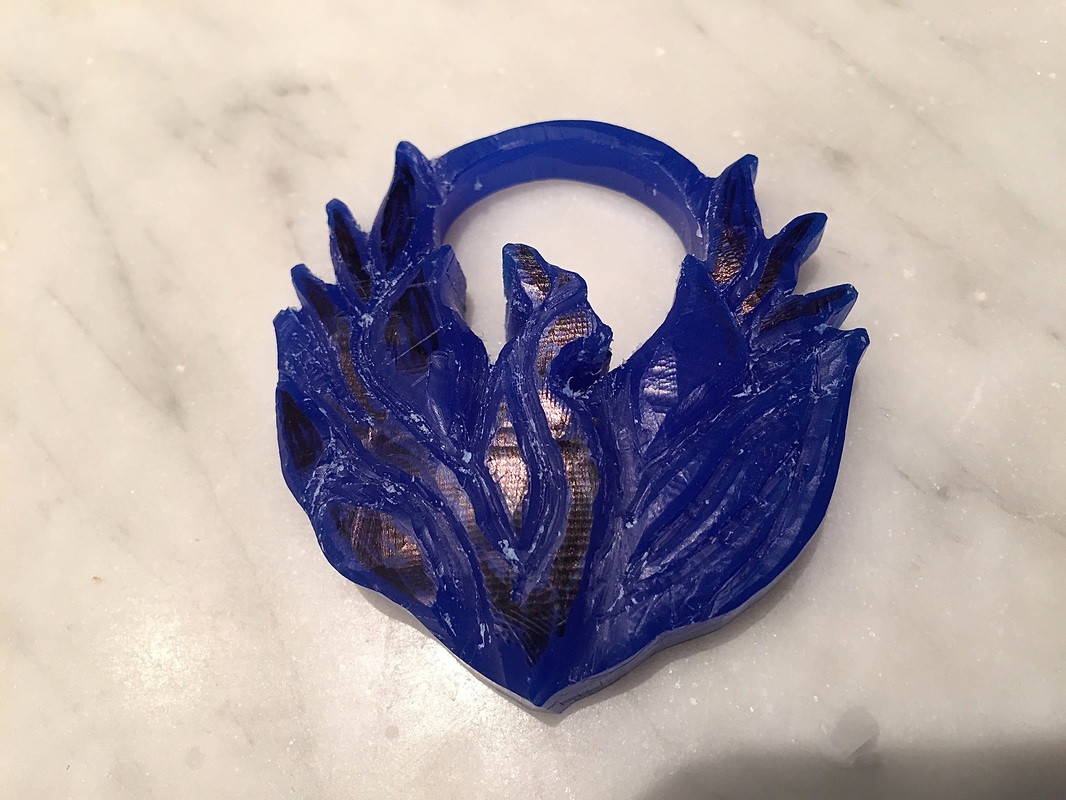
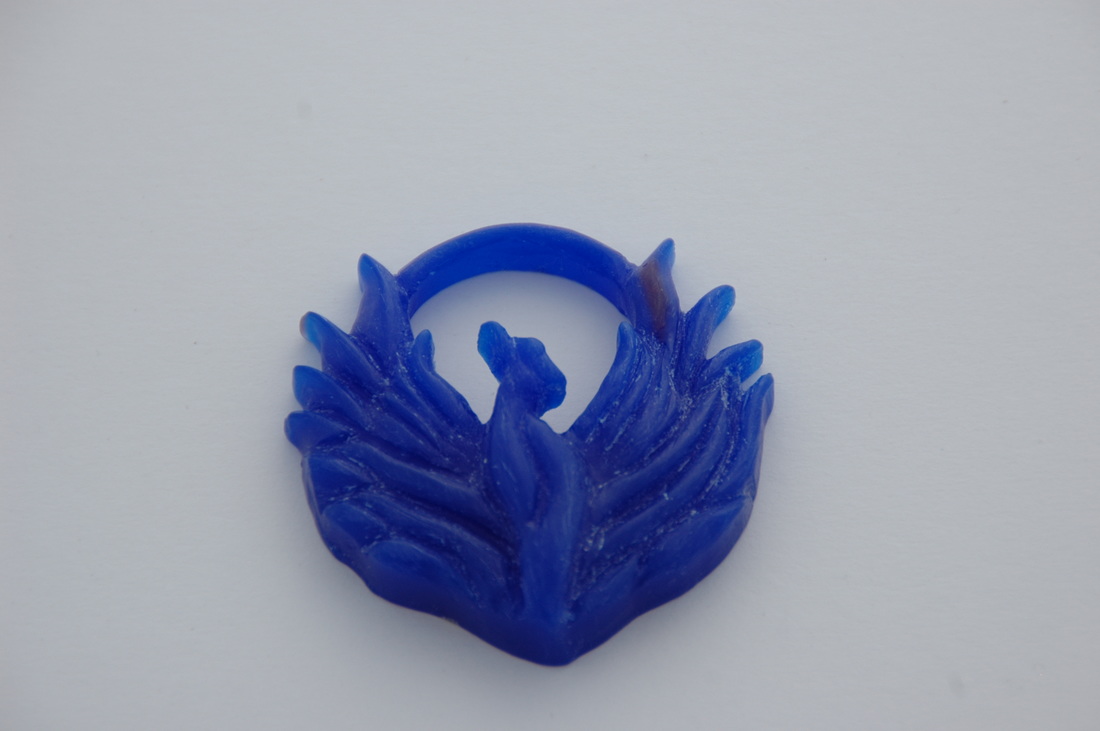
The final stages of preparing a wax for casting are the most tedious. It is necessary to remove every scratch and nick, creating a smooth surface. Any mark that is in the wax will show up in the metal, and it is harder to remove inclusions from metal than from wax. The picture on the right is very close to being ready.
I used the lost wax casting method to produce the model in 14K gold. This traditional technique involves encompassing the wax in "investment" which cradles the wax and oozes into all its cracks and crevices. The wax is then burned out in a special oven, leaving a cavity in the shape of the original. Molten metal is then poured into the cavity. Once cooled, the investment is washed away to create a replica of the wax.
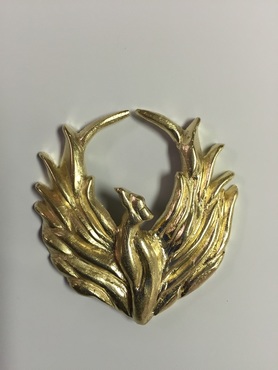
The picture above is how it looked when the casting was complete. There was still much work to be done. If you look closely, you will see marks and rough spots, all normal after a cast. The metal was cleaned and polished using a variety of brushes, compounds and tools. The pin findings were soldered on the back, and a diamond was set in the eye.....
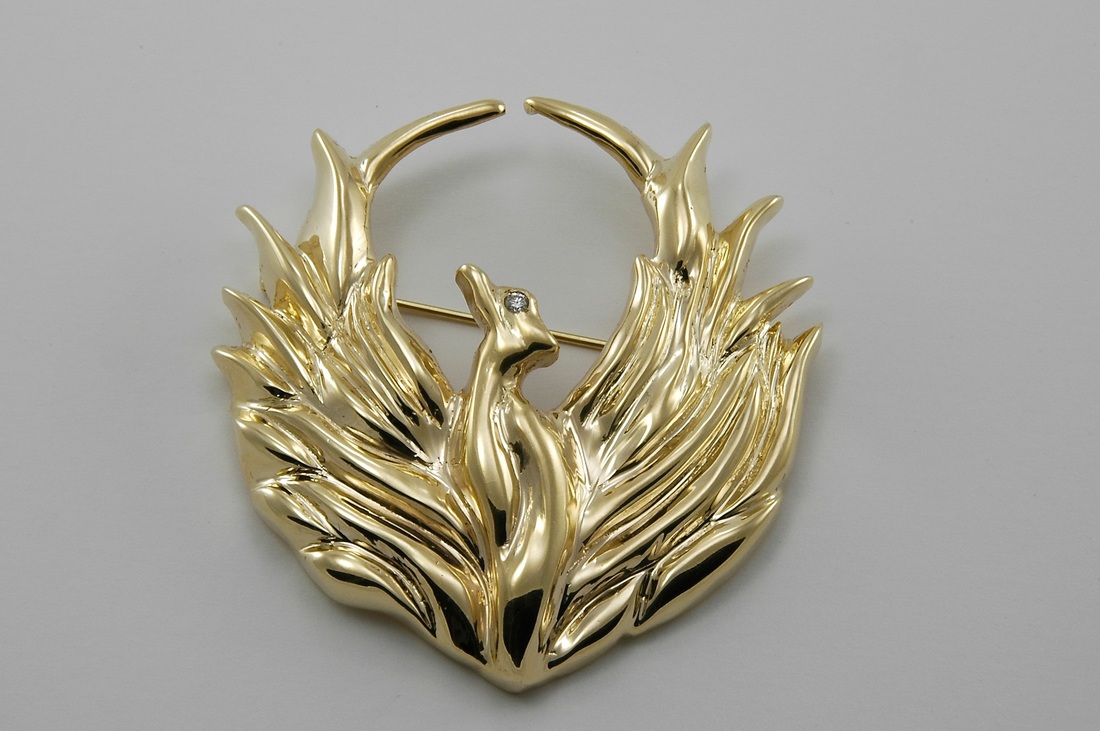

And the finished product....front and back!
It took more hours than I care to admit but it was gratifying and educational, and I look forward to the next project!
It took more hours than I care to admit but it was gratifying and educational, and I look forward to the next project!
 RSS Feed